> For the complete documentation index, see [llms.txt](https://docs.speedystaking.io/llms.txt). Markdown versions of documentation pages are available by appending `.md` to page URLs; this page is available as [Markdown](https://docs.speedystaking.io/avail/talisman/talisman-full-guide.md).
# Talisman - Full Guide
## **Part 1 – Install Talisman**
**Step 1:** Navigate to the [Talisman website](https://talisman.xyz) and click '**Get Started**'.
**Step 2:** Click on **'Add to Chrome'**.
**Step 3:** Click on **'Add extension'**.
## **Part 2 – Create Wallet**
**Step 1:** After installing the extension, you will be redirected to the getting started page. Click on **'Get Started'**.
**Step 2:** Choose a strong password, fill it in twice and click on **'Continue'**.
**Step 3:** Choose whether you want to share anonymous usage information with Talisman and proceed by clicking on either **'No thanks'** or **'I agree'**.
**Step 4:** Make sure **'New'** is selected and click on **'New Polkadot Account'**.
**Step 5:** Make sure **'Polkadot'** is selected, fill in a name for your account under **'Account name'** and click on **'Create'**.
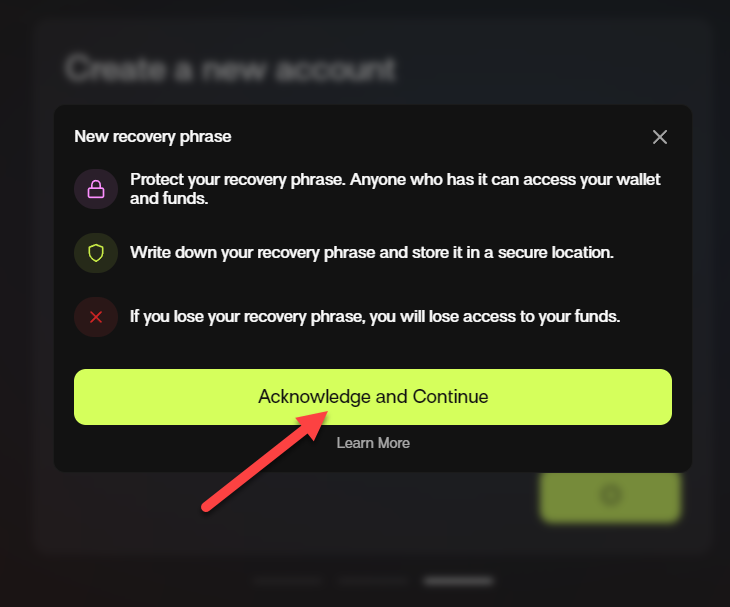
**Step 6:** Click on **'Acknowledge and Continue'**.
**Step 7:** Select either **'12-word'** or **'24-word'**, ***save the recovery phrase words shown somewhere safe***, check the checkbox, and click on **'Verify recovery phrase'**.
**Step 8:** Click on the words of your recovery phrase in the correct order until all of them are filled in and click on **'Complete Verification'**.
**Step 9:** Click on **'Done'**.
**Step 10:** Click on **'Enter Talisman'**.
**Step 11 (recommended):** Click on the extension icon at the top right of Google Chrome.
**Step 12:** Click on the pin next to Talisman. This will ensure that you always have easy access to your Talisman extension.
## **Part 3 – Receive $AVAIL**
**Step 1:** On the Talisman overview page, click on **'Receive'**.
**Step 2:** Click on the account on which you want to receive the $AVAIL.
**Step 3:** Type in AVAIL in the search field and click on the copy button next to the AVAIL result.
**Step 4:** After sending the $AVAIL to the address, you will see it reflected after a couple of minutes.
## **Part 4 – Connect to Avail staking page**
**Step 1:** Browse to the [Avail staking page](https://staking.availproject.org/) and click on **'Connect'** in the top right corner of the screen.
**Step 2:** Click on **'Talisman'**.
**Step 3:** Select an account in the Talisman prompt and click on **'Connect 1'**.
**Step 4:** Click on **'Go To Accounts'**.
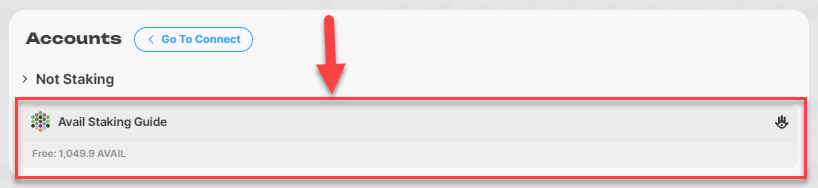
**Step 5:** Click on your account.
**Step 6:** You are now connected to the staking page. You will see details such as your address, your balance, whether you are nominating, and more.
## **Part 5 - Stake/Nominate your $AVAIL**
**Step 1:** Click on **'Validators'** on the left side of the staking page.
**Step 2:** Click on **'Clear'**.
**Step 3:** Search for **'speedy'** and click on the heart to add our validator to your favourites.
**Step 4:** Click on **'Nominate'** on the left side of the staking page.
**Step 5:** Click on **'Start nominating'**.
**Step 6:** Select what you want to do with your rewards; compound, add them to your liquid account balance or add them to another account's liquid account balance. After that, click on **'Continue'**.
**Step 7:** Click on **'From Favorites'**.
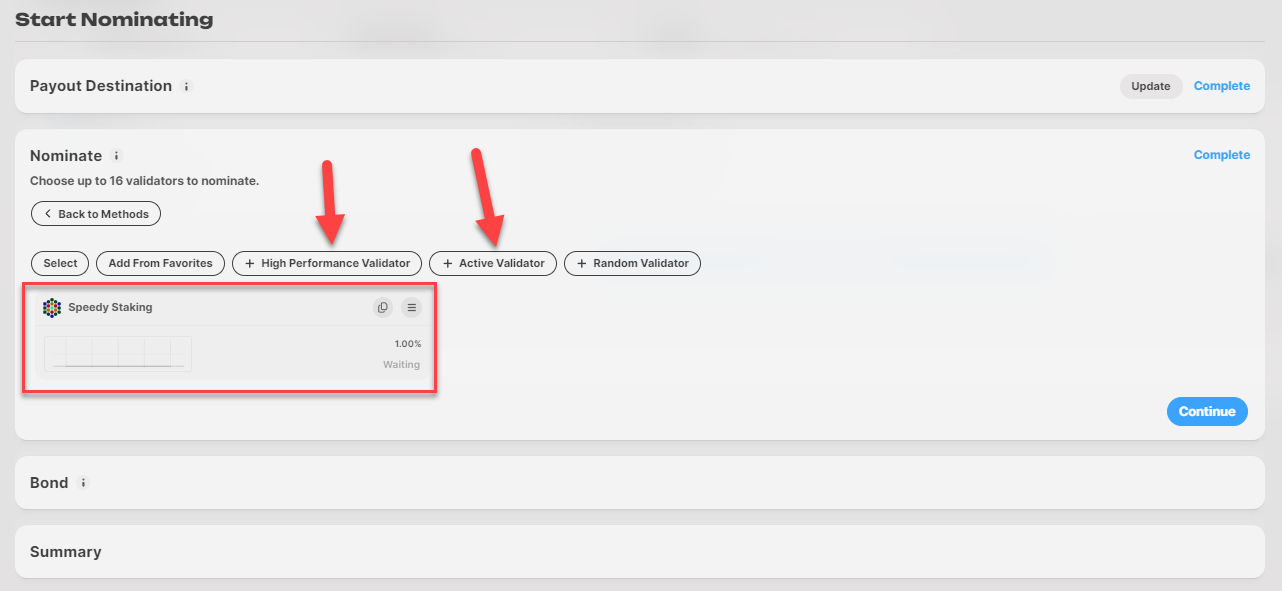
**Step 8:** Our node will be added as a nominated validator. To ensure you receive staking rewards every ERA, select several **'High performance'** or **'Active'** validators. We'll add 4 in our example.
**Step 9:** Click on **'Continue'**.
**Step 10:** Fill in the amount of $AVAIL you want to nominate (at least 1000) and click on **'Continue'**.
**Step 11:** Check if all details are correct under **'Summary'** and click on **'Start Nominating'**.
**Step 12:** Click on **'Approve'** in the Talisman prompt.
**Step 13:** You have now successfully nominated your $AVAIL. You will receive your first rewards after 1-2 ERAs and every ERA after that.